Integrating with Stripe
The key points to know before integrating with Stripe:
- It is much quicker to signup up to Stripe using - a name, email, and password. They provide an aggregated merchant account, and the funds are in a single account.
- It is recommended for small and medium organizations which are comfortable with integrations and APIs and are looking for flexibility.
- Stripe charges 2.9% plus $0.30 per transaction for most online transactions and doesn't have any setup or monthly fees.
Before we start integration, you would need to decide on the following:
- What Stripe products do you want to integrate with
- What checkout option do you wish to use
- Payment methods you'd like to enable
Stripe offers the following types of integrations:
1. No-code integrations with the Stripe dashboard
- Payment links - They take your customers to a Stripe-hosted pageand display payment methods most relevant to the currency and customer's location based on the payment methods you've enabled in the dashboard.
- Invoicing - It lets you automatically charge your customer's payment method on file or email them the invoice with or without a link to a payment page.
- You can also create basic subscription plans from the dashboard.
2. Low-code integrations
- Checkout is a low-code payment integration that creates a customizable payment page. It allows you to collect payments on desktop and mobile quickly.
a. It has both built-in and customizable features.
b. It supports both one-time payments and subscriptions.
c. It has global coverage with over twenty local payment methods.
- Elements is a set of prebuilt UI components for building the web checkout flow.
a. You'll use PaymentIntent or SetupIntent API to process a payment.
b. It is available as a feature of Stripe.js.
c. Elements features include:
- Automatic input formatting
- Complete UI translations to the customer's preferred language
- Responsive design to fit seamlessly on any screen size
- Custom styling rules
- One-click checkout
In integration, Stripe excels in terms of speed of access, setting up an account, resources available, support articles, video tutorials, and a stripe-certified developer community for app building or integration.
Integrating with Adyen
The key points to know before integrating with Adyen:
- You'll need to apply for a dedicated merchant account and go through the underwriting process, which takes time. They provide a dedicated merchant account.
- It is recommended for mid-sized and large organizations with high volumes looking for omnichannel payment processing.
- Adyen charges interchange-plus-based pricing (processing fee plus a payment method fee per transaction).
Integrating with Adyen: You can create a test account with Adyen to try out various features and integrations.
- Drop-in - It is a pre-built UI solution. It shows all payment methods as a list in the same block.
a. Create a payment session. It contains all the information about the payment flow which your customer has initiated.
b. Set up drop-in. It shows the available payment methods and collects payments from your customers.
- Create a container element for drop-in to be rendered
- Create a configuration object for the drop-in integration
- Initialize the payment session with the configurations object and container element created above
- Handle the redirect result. Many payment methods will redirect the user back to your website. They need to be shown the outcome of the transaction.
c. We can get the outcome of payments asynchronously using webhooks.
- Components - They are pre-built UI solutions. Each component renders a payment method.
Setting up Components is similar to drop-in and can be placed anywhere on your website. Adding new payment methods is straightforward. Components support cards, wallets, and most local payment methods.
- API-only integration - Using APIs allows you to control your checkout page and build it how you like it.
a. Decision on accepting card payments
- Use customer card integration to ensure you are PCI compliant.
- Collect & pass raw card data, if you are PCI compliant
b. Get available payment methods by making a 'Post' call.
c. Collect relevant details from your customer based on the payment method selected. Different payment methods require different levels of detail.
d. Make a payment call from your server with the details.
e. Perform additional action based on the response received
f. Submit additional payment details. The need for further information depends on the payment method initially selected and if it involves redirection or 3DS.
g. After all the steps are complete, show your customer the outcome of payment processing.
Although more complex than Stripe, Adyen is also easy to integrate. It assists you with account onboarding, which is a more involved process since you qualify for your merchant account.
Integrating with Braintree
The key points to know before integrating with Braintree:
- Some merchants can start using Braintree immediately after filling out our signup form; in other cases, they'll need to gather additional information by getting in touch within one business day. They provide a dedicated merchant account.
- It is recommended for small and medium organizations looking for a dedicated merchant account owing to high sales volumes, the risky nature of business (high chargebacks), or companies that need Paypal and Venmo in their checkout.
- Braintree charges 2.59% plus $0.49 per transaction for cards and wallets.
Integrating with Braintree:
- Drop-in UI - It is a ready-made UI. It offers businesses the ability to integrate quickly and start accepting payments.
Client and server-side SDKs are provided to complete the integrations.
a. Client-side SDK enables payment methods like cards, Paypal, and more.
b. Server-side helps you manage requests between your server and Braintree.
- Hosted fields - It is a way to accept card payments using JavaScript SDK while staying in control of your checkout's style and user interface.
a. Set up your server with Braintree's server SDK
b. Set up your web client with Braintree's JavaScript
c. Add payment methods
- Payment Request API - It enables businesses to provide payment information to their customer without filling out a checkout form. When using the payment request API:
a. Always have a fallback UI (hosted or crop-in) in case your customer faces any issues.
b. Ensure that your website is served over HTTPS.
Paypal offers great drop-in and custom user interface codes, making it easy to create a great checkout experience for your customer, irrespective of the platform you're using.
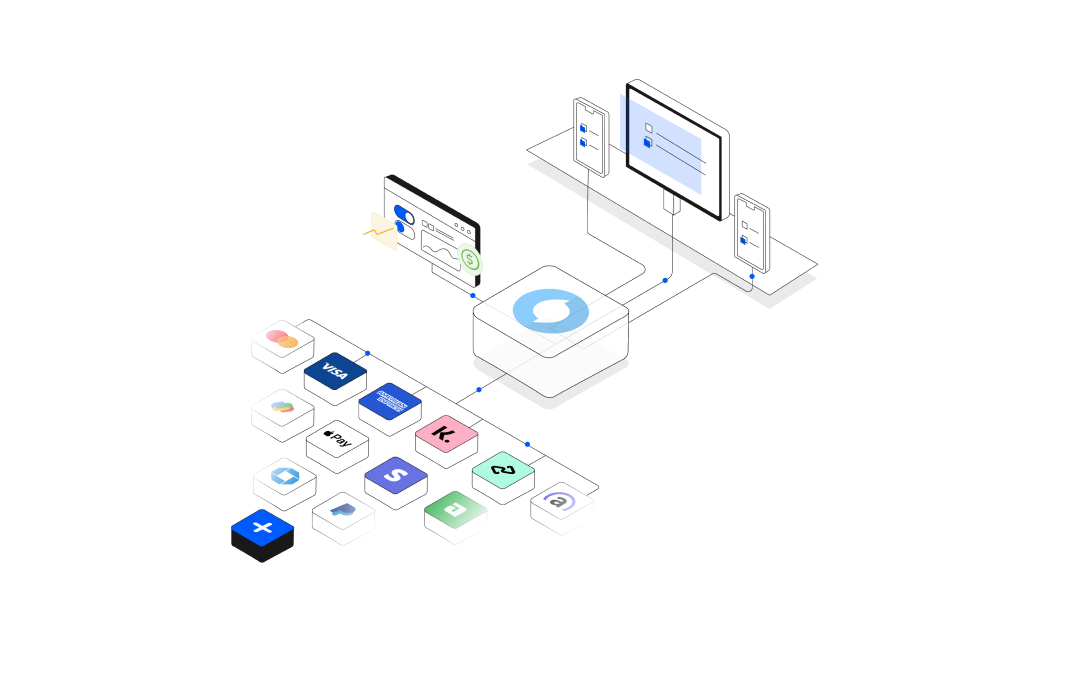
Integrating with multiple processors: Payment orchestrators
Payment orchestrators build connections into hundreds of processors and payment methods behind a single API, allowing merchants to penetrate new markets and test out new payment methods.
Now let's look at why businesses need multiple processors.
- To avoid a single point of failure. Although processors today are very robust and reliable, you'd still want to prevent downtimes due to high volumes, vendor-related issues, and more. Having more than one processor gives you that control and flexibility.
- When you work with a single processor, you lose out on payment methods and regions they aren't into, not to mention the inability to negotiate a good price.
- There are many great processors in the market, but they all have their strengths and weaknesses based on regions, payment methods, customer types, and more - like auth rates, fraud, and more.
Key features to look for in a payments orchestrator
- Simple to integrate but should provide robust and high-quality downstream integration
- Ability to present data from the various systems in a unified format making it easy to draw insights
- PCI compliance and vaulting
- Provides necessary operational support
Most organizations can maintain integrations with processors on their own. However, when it comes to integrating with multiple processors, routing transactions to them intelligently, and maintaining API connections, takes lots of resources and time. Orchestrators can help you offload this task and focus on core business priorities.

